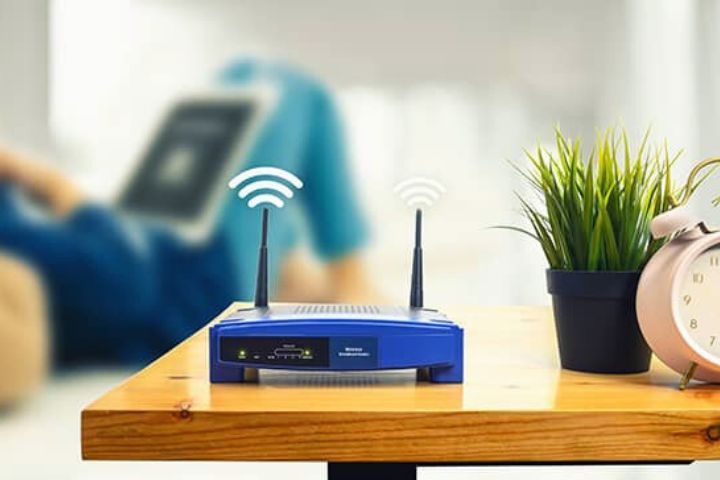
Changing your WiFi password is a crucial step in securing your internet connection. In this article, we’ll guide you through the process of accessing and resetting your router’s configuration page, as well as changing your WiFi password and name. We’ll also provide step-by-step instructions for changing your password on Windows 10 and Mac. And don’t forget to update all of your smart home devices after making any changes to your WiFi network settings!
Router Configuration
Router configuration is an essential step to improve your WiFi network security. This section provides detailed instructions on how to access your router’s configuration page and reset it to factory settings if necessary.
Accessing Your Router’s Configuration Page
The first step in router configuration is accessing the configuration page. Follow these simple steps to do so:
- Open your web browser and type the IP address of your router in the address bar. The most common IP addresses for routers are 192.168.1.1, 192.168.0.1, 192.168.2.1 or 10.0.1.1 for Apple users.
- Enter your username and password when prompted. If you don’t remember your login credentials, you can check them on the router’s manual or perform a quick online search using your router’s model name and number.
- Once you’ve logged in, you should be able to access your router’s configuration page.
Resetting Your Router To Factory Settings
If you can’t access your router’s configuration page, you can try resetting it to factory settings. Keep in mind that this will erase all the customized settings you might have previously set up, so only use this option as a last resort.
Here are the steps to reset your router to factory settings:
- Locate the reset button on your router. It’s usually a small button hidden behind a hole. You might need a pin or a paper clip to press it.
- Press and hold the reset button for at least 30 seconds. During this time, your router will reboot.
- After 30 seconds, release the reset button and let the router restart. Once it’s done, you can try accessing your router’s configuration page again.
Changing your WiFi Password
Changing your WiFi password is an important security measure to protect against unauthorized users accessing your network. Here is a step-by-step guide on how to change your WiFi password on your router’s configuration page using the wireless section:
Going To The Wireless Section
Once you have accessed your router’s configuration page, navigate to the wireless section. This section is where you can make changes to your network’s settings, including changing your WiFi password and name.
Entering A Strong And Unique Password
Now that you are in the wireless section, enter a new, strong and unique password. A strong password consists of at least eight characters, including numbers, uppercase and lowercase letters, and special characters. Avoid using common words or easily guessable information, such as your name or birthdate. Creating a strong password decreases the likelihood of your WiFi network being accessed by unauthorized users.
Using WPA2 Encryption
Use WPA2 encryption to protect your WiFi from intruders. This is one of the most secure encryption protocols available for wireless networks. After changing your password, ensure that you apply or save your changes to lock in your new security settings.
It is important to note that when you change your WiFi password, all devices currently connected will be disconnected and will need to be reconnected using the new password. In addition, remember to update the password on all of your devices that are connected to your WiFi network to ensure seamless connectivity.
Changing your WiFi Name
If you want to change the name of your WiFi network, also known as the SSID, you can easily do so by following these steps:
Logging Into Your Router’s Configuration Page
First, you need to access your router’s configuration page. To do this, you’ll need to open a web browser and type in your router’s IP address. This is typically either 192.168.1.1, 192.168.0.1, 192.168.2.1, or 10.0.1.1 if you’re using an Apple device. If you’re not sure what your router’s IP address is, you can check the documentation that came with your router or look it up online.
Finding the Wireless Section
Once you’ve logged into your router’s configuration page, you’ll need to find the wireless section. This may be labeled as “Wireless” or “WiFi”, or it may be located under a “Settings” or “Advanced” tab.
Entering A New Name
Once you’ve found the wireless section, you can change your WiFi name by entering a new name in the box provided. Your new name can be up to 32 characters long and can include letters, numbers, and symbols. Keep in mind that changing your WiFi name will disconnect any devices that are currently connected to your network, so you’ll need to reconnect them to the new network name once you’ve made the change.
Changing your WiFi name is a simple way to personalize your network and make it easier to identify. Just be sure to choose a name that is unique and easy to remember, but not too personal or identifying.
Changing your WiFi Password on Windows 10
If you’re using a Windows 10 computer, follow these step-by-step instructions to change your WiFi password:
Step-by-Step Instructions
- Click on the Start menu and select Settings.
- Click on Network & Internet.
- Click on Wi-Fi in the left-hand menu and then click on the Manage known networks link.
- Click on your current WiFi network and then click on the Forget button.
- Click on the Wi-Fi menu icon on the taskbar and select your new WiFi network name.
- Enter your new WiFi password and click Connect.
Re-Connecting Devices To The New Network
After changing your WiFi password on Windows 10, you’ll need to reconnect all devices to the new network:
- Click on the Wi-Fi menu icon on the taskbar and select your new WiFi network name.
- Enter your new WiFi password when prompted.
- Repeat this process for all devices connected to your WiFi network, including phones, tablets, and smart home devices.
It’s important to use a strong and unique password to protect your WiFi network from intruders. Additionally, WPA2 encryption should be enabled for maximum security.
Changing Your WiFi Password On Mac
In case you use a Mac computer, changing your WiFi password is a straightforward process that requires some simple steps.
Step-By-Step Instructions
- Open a web browser and enter the default IP address listed in your router’s documentation to access the router configuration page. Alternatively, you can enter the router’s IP address directly in the browser, which is usually a variation of 192.168.1.1, 192.168.0.1, 192.168.2.1 or 10.0.1.1 for Apple devices.
- Enter the username and password to log into the router’s configuration page. If you don’t know these credentials, try common usernames and passwords like “admin” and “password,” or check the router’s documentation or manufacturer’s website.
- Locate the Wireless section in the router’s configuration page and select “Wireless Security” or a similar option.
- Select WPA2 encryption and enter a new password with at least eight characters, which includes numbers, uppercase and lowercase letters, and special characters. Ensure that you choose a strong and unique password.
- Click Apply or Save to save the changes.
Re-Connecting Devices to the New Network
After you successfully change your WiFi password on a Mac, your devices will be disconnected from the network. To re-connect, follow these steps:
- Click on the Wi-Fi icon in the top right corner of your screen.
- Select your new network name from the list of available networks.
- Enter your new password and click Join.
After following these steps, you’ll be connected to the new network with your updated password. It’s important to re-connect to the new network on all of your devices to ensure that your internet security is enhanced.
Updating Connected Devices
After changing your WiFi password and name, it’s important to update any devices connected to your network. This includes all of your smart home devices, laptops, phones, and tablets. To update your connected devices, follow these steps:
- On each device, go to the WiFi settings and select your new network name.
- Enter your new password when prompted.
- If your device has trouble connecting, try restarting it and entering the new password again.
- For smart home devices, you may need to reset them to their default settings and re-connect them to your network using the new name and password.
Once all of your devices are updated and connected to your network, test your internet connection on each device to make sure everything is working properly. This will ensure that your network is secure and all of your devices are connected. Keep in mind that it’s a good idea to regularly change your WiFi password to help prevent unauthorized access to your network. By following these steps and updating your connected devices, you’ll be one step closer to ensuring the security of your internet connection.
Testing Your New Network Settings
After changing your WiFi password and name, it’s important to test your new network settings using a wireless device. This way, you can ensure that your devices and network are secure. To test your new network settings, follow these steps:
- Disconnect all devices from your WiFi network, including phones, laptops, and tablets.
- Connect a single device to your WiFi network using the new name and password.
- Open your favorite web browser, and try accessing any website. If the website loads successfully, you’ve set up your WiFi network correctly.
- If you encounter any issues, try resetting your router to factory settings and starting the process again, making sure you follow all instructions carefully.
Remember that testing your new network settings is an important step to ensure the security of your devices and information. By taking the time to test your new network settings, you can ensure that you have a strong and secure WiFi network that keeps your information safe.


![TamilRockers Proxy 11 Mirror-Sites [Updated 2022] & How to Unblock It](https://www.techsplashers.com/wp-content/uploads/2022/01/TamilRockers-Proxy-11-Mirror-Sites-Updated-2022-How-to-Unblock-It.jpg)
Leave a Reply